Design Your Own 3D Model with Construction Software
Have you ever dreamed of turning your ideas into 3D reality? With today's construction software, you can design custom 3D models—from architectural components to furniture to concept prototypes—right on your desktop. These programs let you visualize, modify, and test objects long before you touch any physical materials.
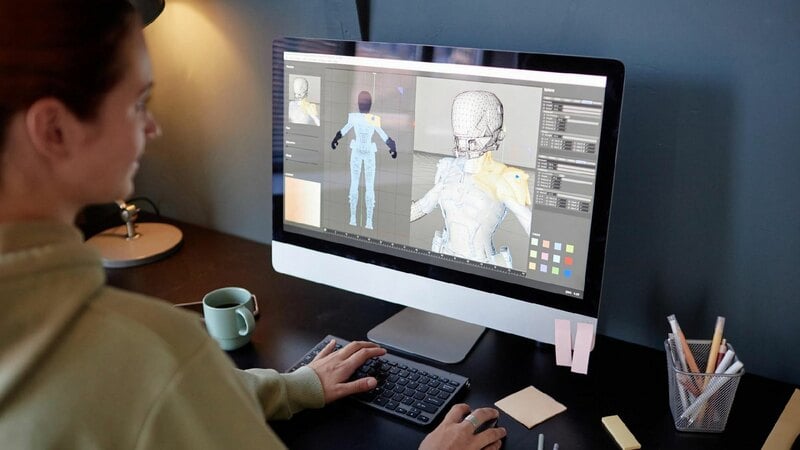
1. Key Features of Construction Software for 3D Modeling
Construction software comes with a toolbox built for serious modeling: surface editing, snapping tools, parametric control, and rendering previews. These capabilities support both design accuracy and creative freedom.
Surface editing lets you shape smooth curves and craft custom geometry using control points. Parametric tools update dimensions automatically when you adjust a single value. Real-time rendering previews display textures, lighting, and reflections as you work.
Working together, these tools make fast iteration possible. You can change angles, swap materials, and test interactions without rebuilding your entire model.
2. Choosing the Right Software Tools
Not all programs are created equal—the right pick depends on your objectives and workflow. Some solutions lean toward architecture, others toward industrial design, and some offer a mix of both.
If you want a free, all-in-one option, SketchUp or FreeCAD are solid starting points. They balance modeling and design thinking well for newcomers.
When you need more power and professional capabilities, tools like Revit, Rhino, or Fusion 360 give you advanced control over geometry, parametrics, and rendering. These applications also support importing and exporting between industrial, architectural, and engineering workflows.
Many designers combine several programs—building in one, refining in another, and rendering in a third. Discovering the combination that fits your approach is essential.
3. Step-by-Step: Building Your Custom 3D Model
Here is a straightforward process to guide your modeling work inside construction software:
-
Step 1: Create base geometry. Begin with simple shapes as your foundation—cubes, cylinders, and planes.
-
Step 2: Define proportions and scale. Use reference images or measurement data to establish accurate real-world dimensions.
-
Step 3: Refine surfaces and details. Add curves, bevel edges, or cut sections using surface or mesh tools.
-
Step 4: Apply textures and materials. Simulate finishes such as wood, metal, glass, or composites.
-
Step 5: Render previews and evaluate. Check lighting, shadows, reflections, and overall form with built-in rendering.
By repeating these steps and making adjustments along the way, your model grows from a rough concept into a finished 3D asset.
4. Real-World Uses of Custom 3D Modeling
Custom 3D models created in construction software are used in a wide range of industries:
-
Architecture & Interiors: Visualizing furniture, fixtures, or custom components within a space before production.
-
Product Design: Prototyping gadgets, appliances, or tools digitally before making molds.
-
Fabrication & 3D Printing: Generating models ready for printing, CNC cutting, or laser work.
-
Set Design & Visualizations: Creating props, stages, and virtual scenes for entertainment and media.
Because construction software handles geometry, measurement, and spatial logic, it delivers precise models that translate smoothly to real-world production.
5. Benefits and Challenges
Benefits:
-
Fast iteration: Make design changes on the fly without redoing the entire model.
-
Precision: Parametric controls and snapping tools keep parts aligned exactly.
-
Visualization: Real-time previews help you see how lighting and materials behave.
-
Cost reduction: Spot design mistakes before manufacturing or construction begins.
Challenges:
-
Performance: Complex models need capable hardware and can slow down rendering.
-
Learning curve: Advanced tools take time and practice to master.
-
Conversion to real-world: Translating digital models into physical objects may require adjustments for tolerances and production limits.
6. Tips for New Modelers
-
Start simple. Don't attempt a complex shape in your first few models.
-
Use references—photos, sketches, or blueprints help guide proportion and scale.
-
Save versions often. Use version control so you can roll back changes when needed.
-
Use layers or grouping. Organize parts (frames, surfaces, details) to keep editing manageable.
-
Experiment with lighting and materials early—they reveal design issues that geometry alone won't show.
7. What's Next: Trends in 3D Modeling with Construction Software
The future of custom 3D modeling looks even more capable:
-
AI-enhanced modeling: Software that suggests shapes, fills in details, or fixes geometry automatically.
-
Parametric generatives: Rules or scripts that generate complex form variations in seconds.
-
Cloud and collaboration: Teams working on the same 3D model in real time from anywhere.
-
Mixed-reality previews: Viewing your model in a physical space using AR or VR before production.
These developments will take custom 3D design from niche to mainstream, letting more creators turn digital ideas into reality.
Conclusion
Building custom 3D models with construction software connects imagination to production. You sketch, model, refine, and visualize—all in a digital space made for iteration and precision.
With an understanding of geometry, material behavior, and rendering, you can design everything from furniture pieces to architectural details to product prototypes. Challenges exist, but practice and the right tools can overcome them.
If you have an idea in mind, start modeling today. With construction software, your creativity can take shape in full 3D.