Step-by-Step Guide to Sterilizing Substrate
Why Substrate Sterilization is Critical for Success
Sterilizing substrate isn’t just a recommendation—it’s a non-negotiable step for anyone serious about cultivating healthy plants, fungi, or microorganisms. Unsterilized substrates harbor bacteria, mold spores, and competing organisms that can outcompete your desired culture, leading to failed crops or contaminated experiments. Whether you’re growing mushrooms, propagating plants, or conducting lab research, contamination can derail weeks of effort. Proper sterilization eliminates these risks by destroying all living organisms within the substrate, creating a blank slate for your project to thrive.
Preparing Your Substrate: Cleaning and Hydration Basics
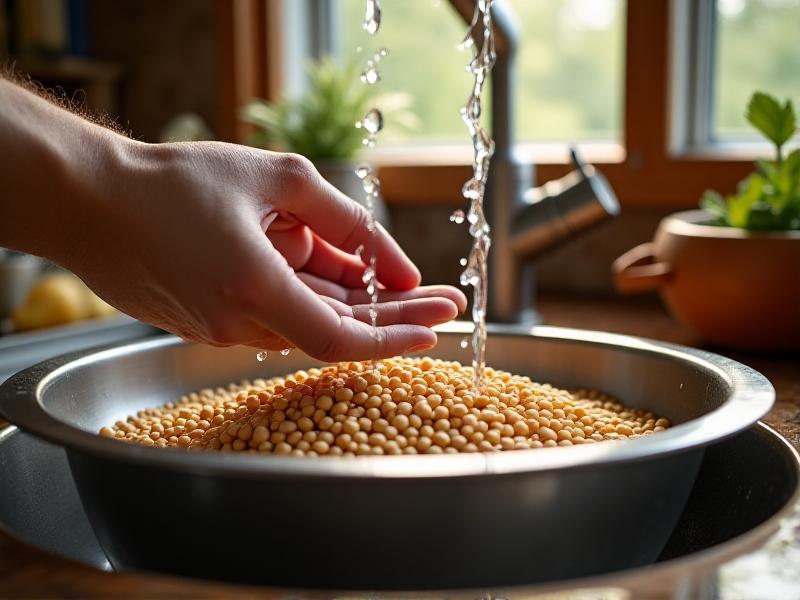
Before sterilization begins, proper preparation ensures uniformity and effectiveness. Start by rinsing raw materials like grains or sawdust to remove dust and debris. For woody substrates, soak them in water for 12–24 hours to achieve optimal hydration—this ensures steam penetrates evenly during sterilization. Avoid over-soaking, which can cause anaerobic conditions. Strain excess water and fill heat-tolerant containers (like glass jars or bags) two-thirds full to allow for expansion. Loose-fitting lids enable pressure equalization while preventing contaminants from entering post-sterilization.
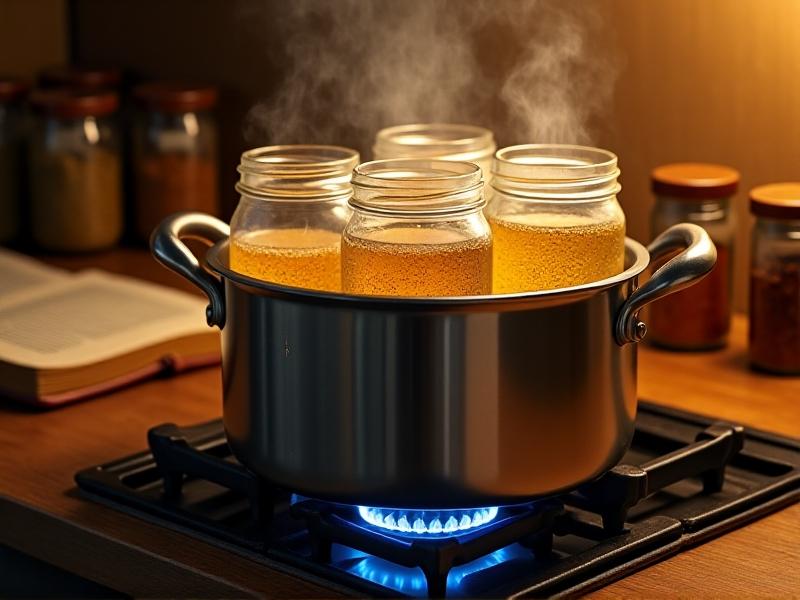
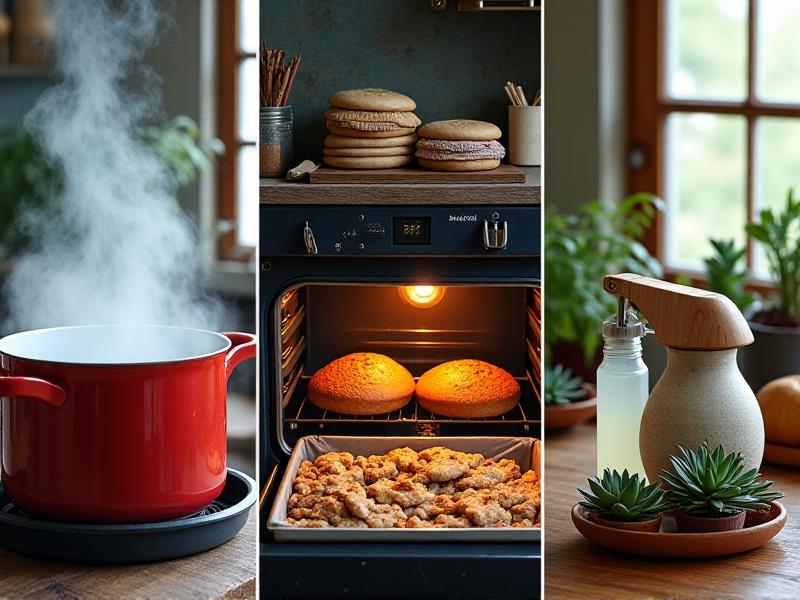
Pressure Cooking: The Gold Standard for Home Sterilization
Pressure cookers are unmatched for efficiency and reliability in substrate sterilization. They achieve temperatures above boiling (121°C/250°F at 15 PSI), destroying even heat-resistant endospores. Load jars or bags into the cooker, ensuring they aren’t crowded. Add water to the cooker’s base, seal the lid, and heat until steady steam releases from the vent. Start timing once full pressure is reached: most substrates require 90–120 minutes. Allow natural pressure release before opening to avoid explosive steam or cracked glass.
Alternative Sterilization Methods: Boiling, Oven Treatment, and Chemical Solutions
If a pressure cooker isn’t available, boiling works for less contamination-prone substrates. Submerge materials in water and simmer for 60–90 minutes, though this won’t eliminate all microbes. Oven sterilization involves baking hydrated substrate at 150°C (300°F) for 2–3 hours, but uneven heat distribution can leave pockets of contamination. Chemical sterilants like bleach or isopropyl alcohol are quick fixes for surface disinfection but struggle with porous materials. These methods are riskier but viable for low-stakes projects.
Step-by-Step Guide to Using Hydrogen Peroxide for Sterilization
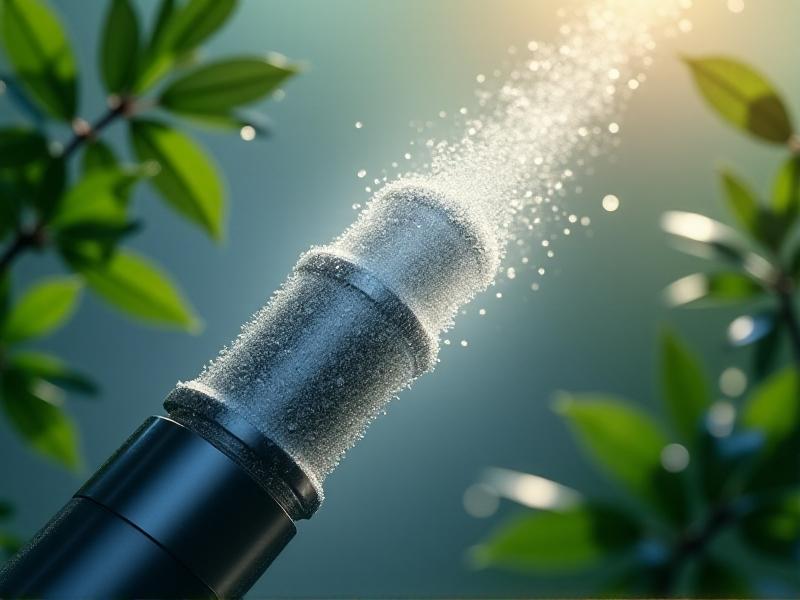
Hydrogen peroxide (H₂O₂) offers a low-heat option for delicate substrates. Use food-grade 3%–10% solutions. Soak or mist the substrate until fully coated, then let it sit for 24 hours in a sealed container. H₂O₂ breaks down into water and oxygen, leaving no toxic residue. This method suits materials like straw or cardboard but may not penetrate dense substrates effectively. Combine with pasteurization for better results. Always test on a small batch first to gauge efficacy.
Post-Sterilization Handling: Cooling, Inoculation, and Storage
After sterilization, cool substrates to room temperature in a clean, draft-free area. Avoid rapid cooling, which can create condensation and introduce contaminants. Once cooled, inoculate with spores, mycelium, or seeds using sterile tools. Work near a flame or in a laminar flow hood to maintain cleanliness. Store unused sterilized substrate in sealed containers in a cool, dark place. Use within two weeks to minimize contamination risks.
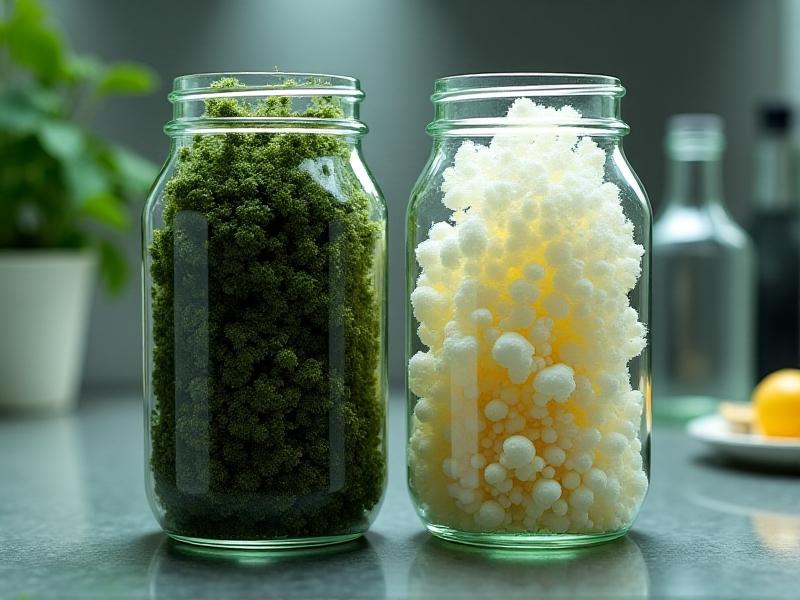
Monitoring Contamination: Signs Your Substrate Isn’t Sterile
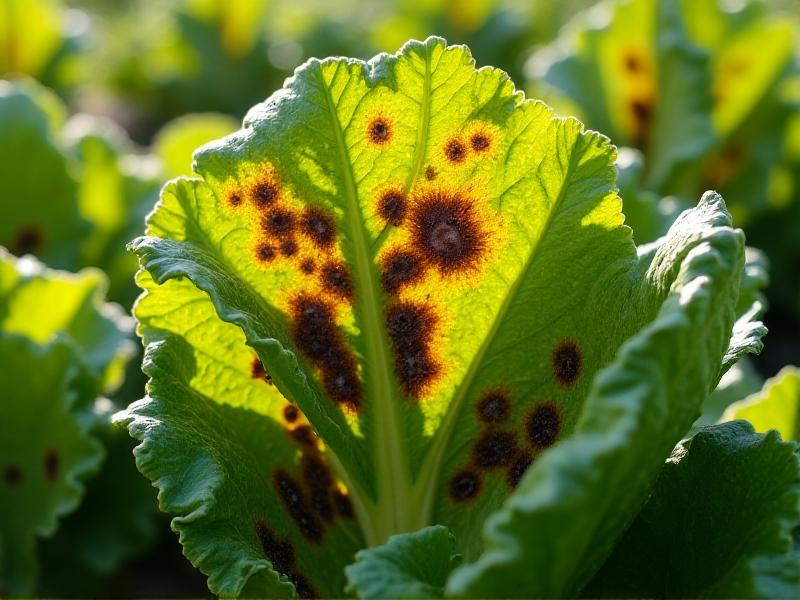
Contamination often appears as unexpected colors or odors—green, black, or pink molds, sour smells, or slimy textures. Bacterial colonies may look wet or glossy. Isolate contaminated substrates immediately to prevent spread. Regularly inspect jars or bags during the colonization phase. Transparent containers simplify monitoring. When in doubt, wait 48 hours: healthy mycelium grows steadily, while contaminants spread rapidly.
Common Mistakes and How to Avoid Them
Undershooting sterilization time, overcrowding the pressure cooker, and inadequate hydration top the list of errors. Overloading jars or bags prevents steam circulation, creating survival zones for microbes. Skipping the soak for hardwood substrates leads to uneven moisture. Using cracked jars or poorly sealed lids invites contaminants post-sterilization. Always follow verified timelines, use quality equipment, and maintain strict hygiene during handling.
Choosing the Right Sterilization Method for Your Project
Match your method to substrate type and project scale. Pressure cooking suits most grains and bulk substrates. Hydrogen peroxide or boiling works for small batches of porous materials. Commercial operations often use autoclaves or gamma irradiation. Consider time, equipment access, and contamination tolerance. For high-risk projects like rare mushroom strains, opt for the most thorough method available—don’t cut corners.