Simple Fruiting Chamber Setup Under $50
Why Build a Fruiting Chamber on a Budget?
Growing mushrooms at home is a rewarding hobby, but achieving the right environment for fruiting can be tricky. A fruiting chamber provides controlled humidity, fresh air exchange, and stable temperatures—critical factors for mushroom growth. Commercial setups can cost hundreds, but with creativity and basic supplies, you can create an effective chamber for under $50. This guide will walk you through the essentials of building a functional, low-cost fruiting chamber that doesn’t skimp on results.
Choosing the Right Container for Your Setup
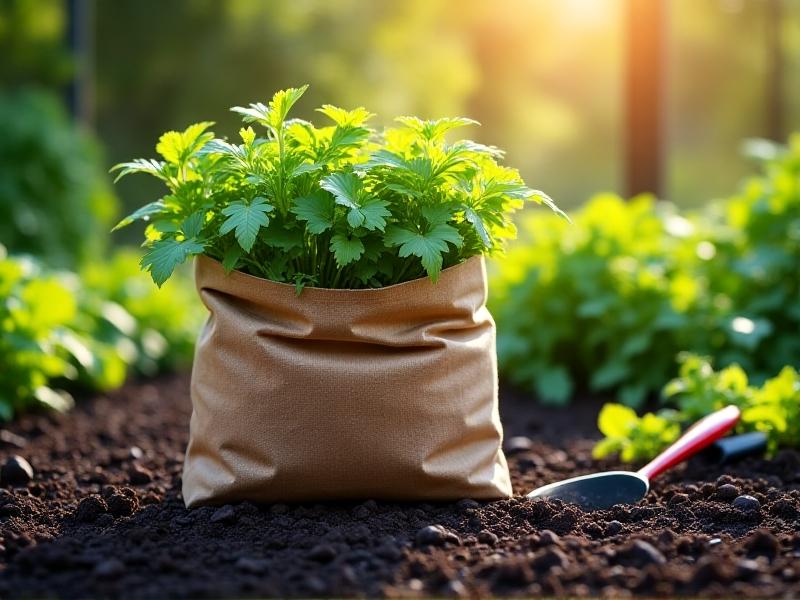
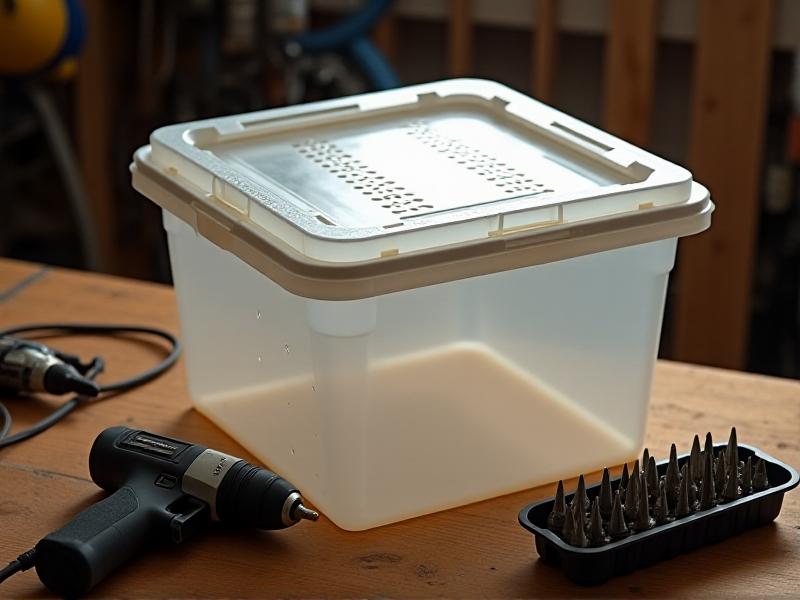
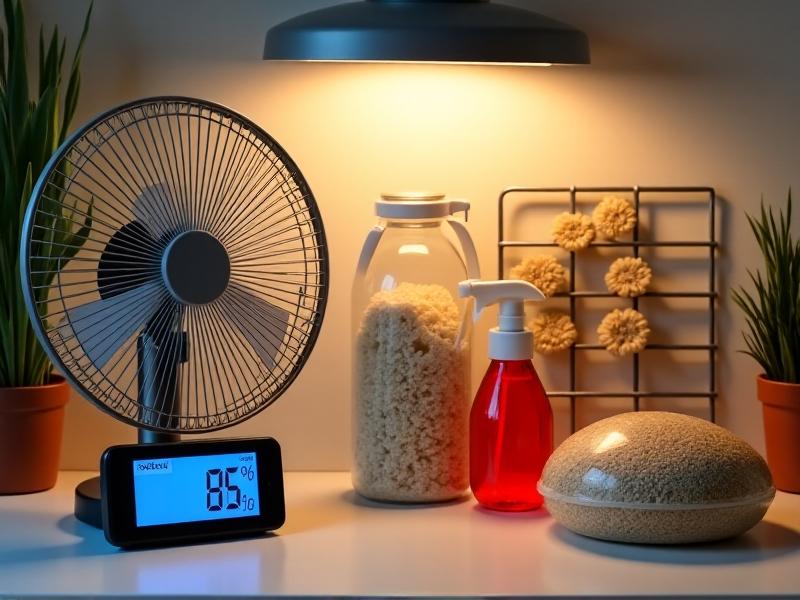
The container is the backbone of your fruiting chamber. Clear plastic totes are ideal—they’re lightweight, affordable, and let light penetrate (some mushrooms need indirect light). Look for a 20-30 gallon tote with a lid that seals securely. Avoid colored or opaque containers, as they limit visibility and light exposure. Pro tip: Check local thrift stores or online marketplaces for second-hand options to save even more. If drilling holes feels daunting, consider using a pre-made clear storage tub with ventilation panels.
Essential Materials You Probably Already Own
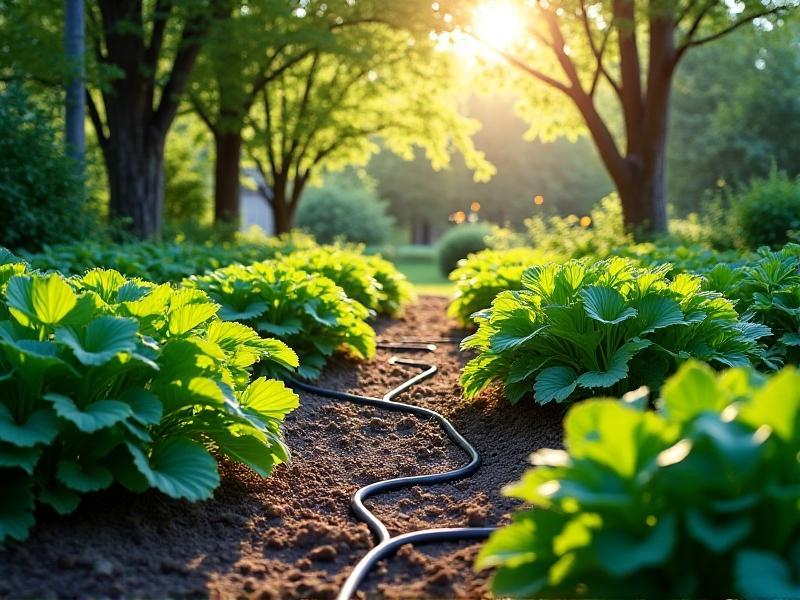
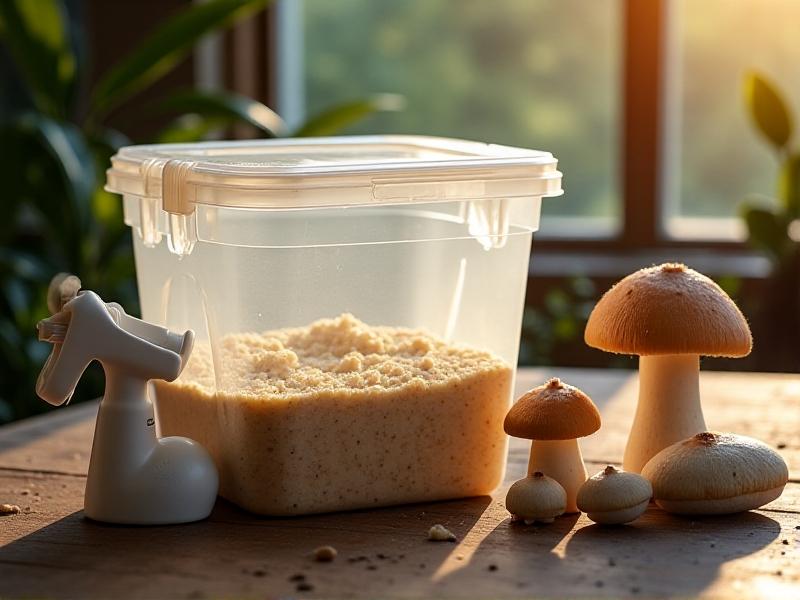
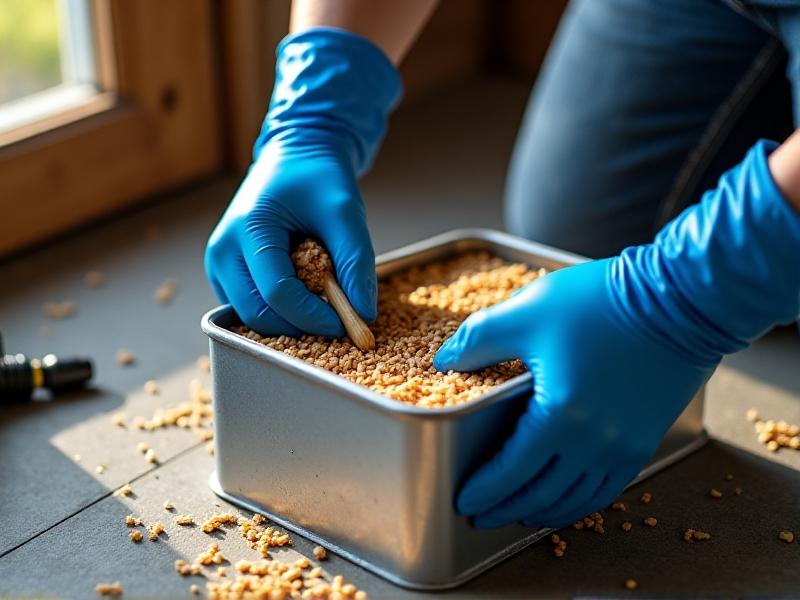
Beyond the container, you’ll need: perlite (for humidity retention), a hygrometer ($8-12 online), a spray bottle, and a small fan for air circulation. Household items like aluminum foil or baking racks can create raised platforms for mushroom blocks. Instead of expensive grow lights, position your chamber near a north-facing window. Already have a seedling heat mat? Use it to maintain temperatures between 65-75°F. This approach keeps costs minimal while leveraging what you have.
Assembling Your Chamber in 45 Minutes Flat
1. Sterilize your tote with rubbing alcohol. 2. Add a 2-3” layer of soaked perlite to the bottom. 3. Place a wire rack or foil-covered bricks above the perlite to elevate grow bags. 4. Drill 1/4” holes every 6” around the upper sides for CO2 escape. 5. Install the hygrometer and fan (run it 2x daily for 5 minutes). 6. Mist walls lightly twice daily—never directly on mushrooms. This simple setup mimics professional environments at a fraction of the cost.
Mastering Humidity Without Fancy Equipment
Maintain 85-95% humidity using the “perlite reservoir” method: soaked perlite slowly releases moisture. Add a cup of water daily if the hygrometer dips below 80%. For desert-dry climates, layer soaked sphagnum moss over the perlite. No humidifier? Tent a clear plastic bag over individual mushroom blocks inside the chamber. This microclimate technique works wonders for species like oysters that thrive in high humidity.
When Growth Stalls: Quick Fixes That Work
No pins after 2 weeks? Increase fresh air exchange by adding more holes or fanning longer. If mushrooms are leggy and thin, they need more oxygen—move the chamber to a breezier room. Mold issues? Reduce misting frequency and wipe walls with 3% hydrogen peroxide. For slow colonization, check temperatures with a meat thermometer pushed into the substrate. Most problems stem from humidity or airflow imbalances—adjust one variable at a time and document changes.
From First Harvest to Continuous Yields
After harvesting, rehydrate your substrate by soaking it overnight in filtered water. Return it to the chamber, and you’ll often get 3-4 flushes! Rotate multiple chambers weekly for continuous harvests. Clean perlite monthly and sterilize the tote between cycles with vinegar solution. Share extras with friends—a thriving chamber often produces more than one household can consume. With these strategies, your $50 investment keeps giving for years.