DIY Mushroom Grow Tent Designs
Why Build a DIY Mushroom Grow Tent?
Mushroom cultivation requires precise environmental control, and a grow tent offers an affordable, customizable solution. Unlike pre-made kits, a DIY setup lets you tailor conditions—humidity, temperature, and airflow—to suit specific mushroom species. For hobbyists and small-scale growers, this flexibility maximizes yields while minimizing costs. Plus, repurposing materials like PVC pipes, plastic sheeting, or old shelving units reduces waste, aligning with sustainable practices. Whether you’re growing shiitake, oyster, or lion’s mane, a custom tent ensures your mushrooms thrive without breaking the bank.
Essential Materials for Your Mushroom Grow Tent
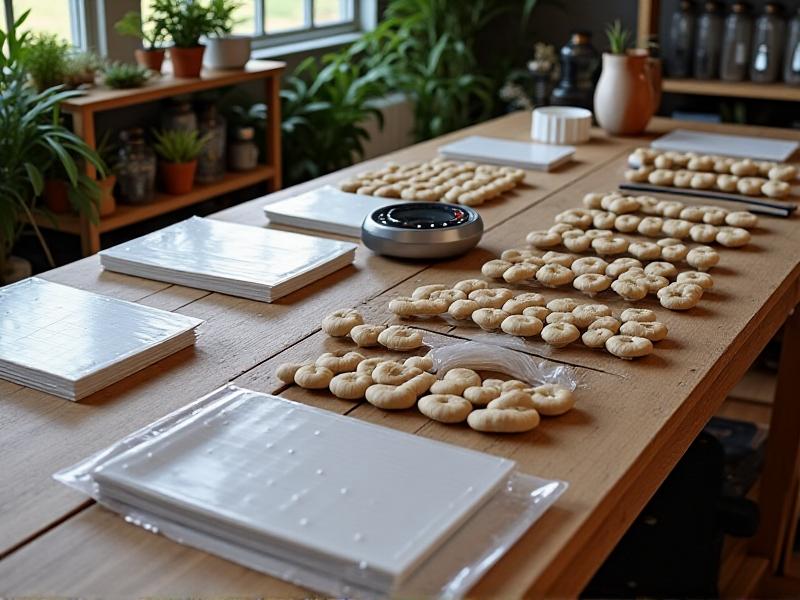
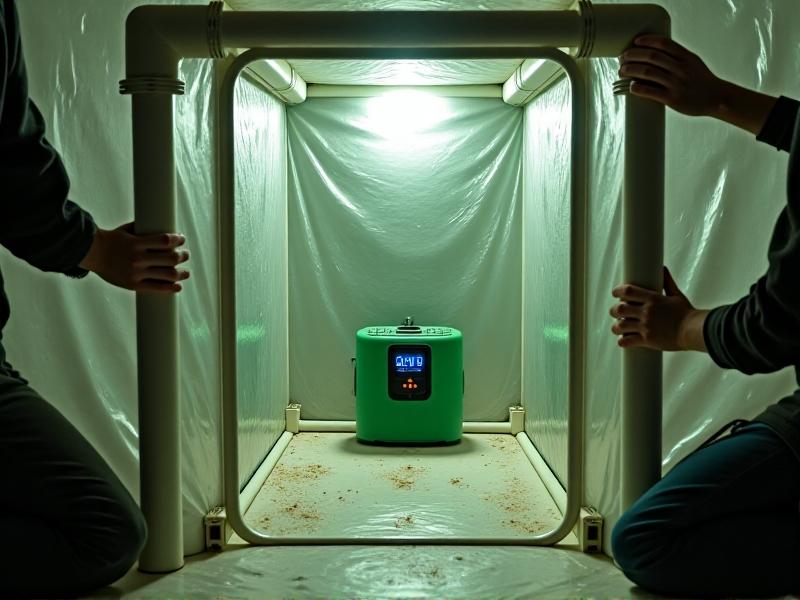
Start with a sturdy frame: PVC pipes or metal conduit work well. For walls, opt for clear plastic sheeting or heavy-duty Mylar to reflect light. Wire shelving provides space for fruiting blocks or bags, while a humidifier and hygrometer maintain moisture levels. Ventilation is critical—add small PC fans or ducting for airflow. Waterproof flooring, like a plastic tray, prevents spills. Optional extras include LED grow lights (for species needing indirect light) and an electric heater with a thermostat. Total costs often stay under $100, depending on material quality and repurposed items.
Step-by-Step Construction Guide
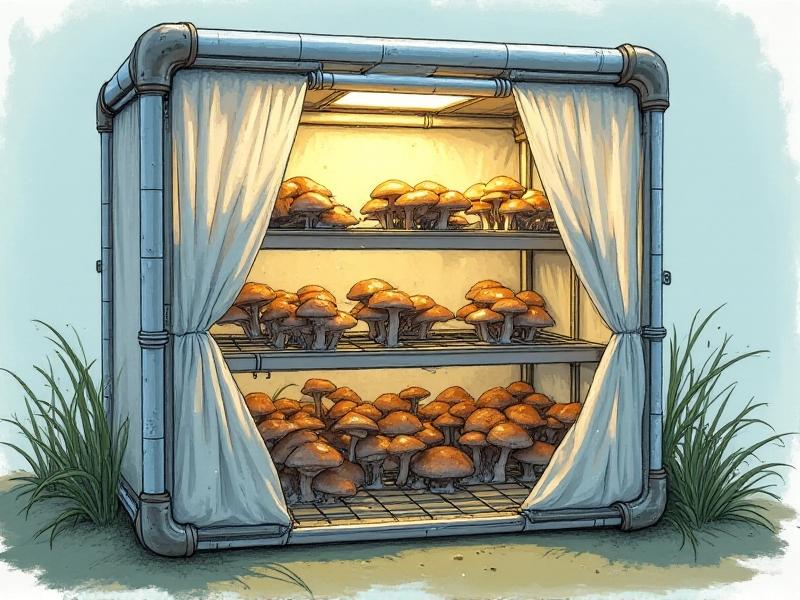
Build the frame first: assemble PVC pipes into a rectangular structure (e.g., 4'x2'x6'). Secure joints with connectors and glue. Drape plastic sheeting over the frame, leaving a front flap for access. Use duct tape or Velcro strips to seal edges. Install wire shelves inside, spacing them 18” apart. Place a humidifier at the base and run its hose into the tent. Mount PC fans near the top to exhaust CO2, and add intake vents near the bottom. Test the setup by running the humidifier and fans for 24 hours, adjusting until humidity stays between 80-95%.
Optimizing Ventilation and Humidity
Mushrooms need fresh air to prevent CO2 buildup and stagnant moisture that invites mold. Position exhaust fans at the top of the tent to remove warm, humid air, while intake vents at the bottom draw in oxygen. Use a timer to cycle fans every 15–30 minutes. Pair this with a humidifier on a humidity controller—set it to activate when levels drop below 85%. For species like king oyster, add a fogger for finer mist. Regularly check for “dead zones” with a handheld anemometer and adjust fan speeds or vent placements as needed.
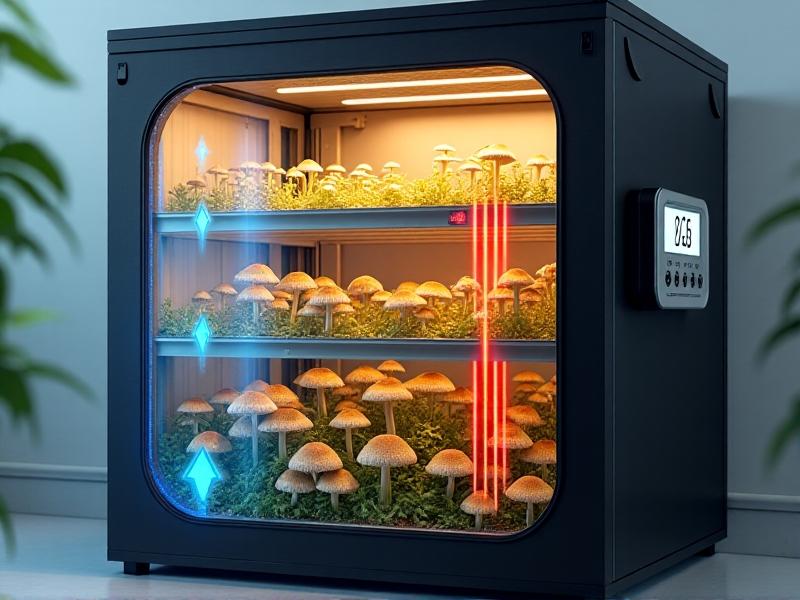
Lighting Solutions for Mushroom Growth
Most mushrooms don’t require direct light, but indirect exposure helps trigger pinning. Install low-wattage LED strips (6500K color temperature) on the tent’s ceiling, set to a 12-hour cycle. Shield lights with a diffuser to avoid drying substrates. For light-sensitive species like enoki, use blackout curtains on the tent’s exterior and rely on brief daily exposure. Always monitor growth patterns: elongated stems or pale caps may signal insufficient light. Alternatively, position the tent near a north-facing window for gentle natural light, but avoid direct sun to prevent overheating.
Maintaining Ideal Temperature and Cleanliness
Mushrooms thrive in 60–75°F, depending on the species. Use a space heater with a thermostat for colder climates, placing it outside the tent to avoid drying the air. In warm areas, install a small AC unit or circulate cool air via intake vents. Sanitize the tent monthly with a 10% bleach solution, and sterilize tools with isopropyl alcohol. Line shelves with aluminum foil for easy cleaning, and replace plastic sheeting annually. Always wear gloves and a mask when handling substrates to prevent contamination from molds like Trichoderma.
Troubleshooting Common Issues
Yellowing mycelium or fuzzy growth? Likely contamination—remove affected blocks immediately and sanitize the area. Poor pinning? Check humidity and CO2 levels; adjust fan cycles or misting frequency. If mushrooms are leggy or small, reassess light duration or nutrient content in the substrate. For persistent issues, try switching strains—some varieties adapt better to DIY setups. Keep a grow journal to track variables and identify patterns. Online mycology forums and local gardening groups are invaluable for troubleshooting and refining your setup over time.