DIY Mushroom Grow Kits: Budget-Friendly Options
Why DIY Mushroom Grow Kits Are Perfect for Budget-Conscious Gardeners
Growing mushrooms at home has surged in popularity, not just for its sustainability but also for its affordability. DIY mushroom grow kits eliminate the need for expensive equipment or specialized knowledge, making fungi cultivation accessible to everyone. Unlike store-bought mushrooms, which often come with a premium price tag, a one-time investment in a grow kit or materials can yield multiple harvests. This approach reduces grocery bills while providing a fun, educational project for families or solo hobbyists. Plus, mushrooms like oysters or shiitakes thrive on low-cost substrates such as coffee grounds or straw, keeping expenses minimal.

Top Budget-Friendly Mushroom Varieties to Grow at Home
Not all mushrooms are created equal when it comes to cost-effectiveness. Oyster mushrooms are a standout choice—they grow rapidly on substrates like cardboard or spent coffee grounds and require minimal maintenance. Lion’s mane, though slightly pricier in stores, can be cultivated using inexpensive hardwood sawdust blocks. Shiitake mushrooms thrive on pasteurized hardwood logs or pre-inoculated dowels, offering a high yield per batch. For beginners, white button mushrooms are forgiving and grow well in sterilized compost. Each variety offers unique flavors and textures, ensuring your homegrown harvests rival grocery store offerings without the markup.
DIY vs. Store-Bought Kits: Which Saves More Money?
Store-bought kits offer convenience but often cost $20–$40 for a single harvest. DIY kits, however, let you reuse materials like buckets, jars, or recycled substrates. For example, a $10 bag of mushroom spawn can inoculate multiple batches of substrate, slashing long-term costs. While pre-made kits are ideal for beginners, DIY methods empower growers to scale production affordably. A homemade setup using repurposed containers and pasteurized straw can yield pounds of mushrooms for a fraction of retail prices, making it a smarter choice for frequent growers or those wanting to experiment with different species.
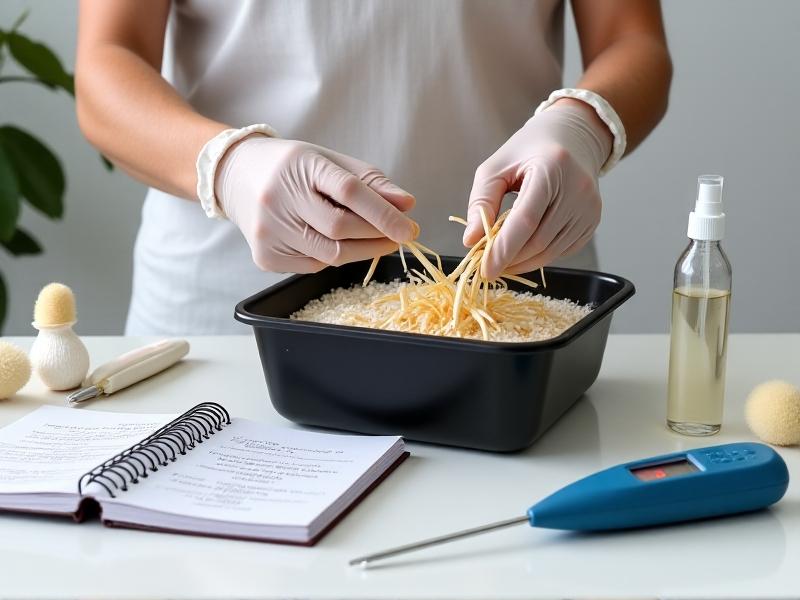
Step-by-Step Guide to Building Your Own Mushroom Grow Kit
Start by selecting a container—plastic buckets or large jars work well. Drill holes for ventilation if needed. Pasteurize your substrate (straw, coffee grounds, or hardwood chips) by soaking in hot water. Drain and mix in mushroom spawn, available online or from local suppliers. Seal the container with breathable fabric or a lid slightly ajar to maintain humidity. Store in a dark, warm spot (65–75°F) for 2–4 weeks until mycelium colonizes the substrate. Move to indirect light, mist daily, and harvest when caps fully form. Rehydrate the substrate between flushes for repeated yields.
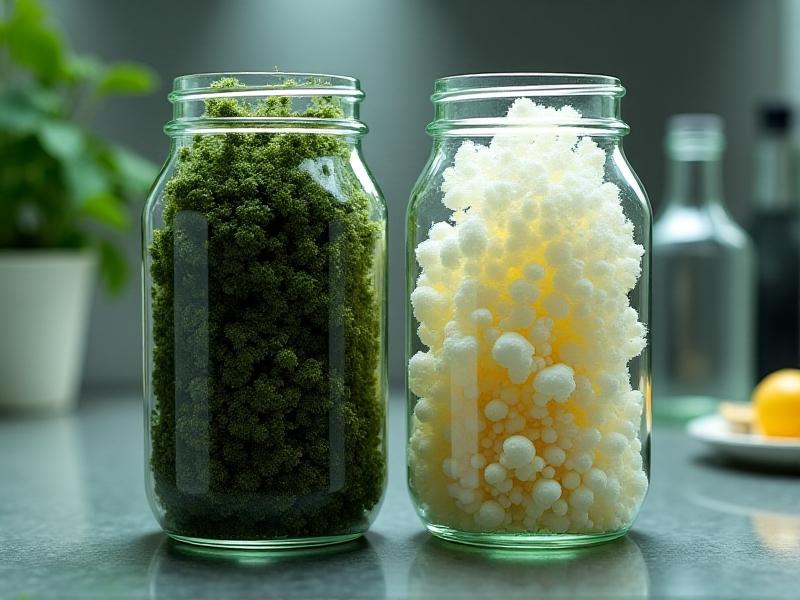
Affordable Materials You Already Have at Home
Mushrooms aren’t picky about their containers. Repurpose empty coffee bags for substrate storage, use old aquariums as humidity chambers, or turn cardboard boxes into spawning beds. Coffee grounds from your morning brew are a free, nutrient-rich substrate for oysters. Hardwood pellets from pet stores (unused) are cheaper than specialized sawdust. Even crumpled newspaper works for some species! By leveraging household items, you can build a productive kit without buying anything new, aligning with zero-waste principles while keeping costs low.
Maintaining Your Mushroom Kit on a Budget
Consistent humidity is key. Use a spray bottle instead of a pricey humidifier, and cover kits with perforated plastic bags to retain moisture. Tap water works fine, but filtered water prevents mineral buildup. If temperatures drop, insulate containers with towels or place near (not on) heating vents. Skip commercial fertilizers—mushrooms derive nutrients from their substrate. For pest control, a light neem oil spray deters fungus gnats without harming mycelium. Regular harvesting also prevents rot, ensuring your setup stays productive for months.
Troubleshooting Common Issues Without Breaking the Bank
Mold contamination? Isolate the affected area and increase airflow. A 3% hydrogen peroxide spray can combat surface mold without damaging mycelium. Slow growth? Check temperature—many species stall below 60°F. Use a seed heating mat ($15) for consistent warmth. Dry substrate? Soak blocks in cold water for 4–6 hours to rehydrate. If pests invade, introduce sticky traps or a bowl of vinegar dish soap nearby. Most problems have low-cost fixes, avoiding the need to replace entire kits.
Creative Ways to Use Your Homegrown Mushrooms
Beyond sautés, dehydrate excess mushrooms for long-term storage or grind into umami-rich seasoning powder. Use stems to brew savory teas or broths. Forage-inspired recipes like lion’s mane “crab cakes” or oyster mushroom tacos elevate meals. Swap store-bought gifts with homemade mushroom jerky or infused oils. Even failed grows (non-contaminated) can be composted to enrich garden soil, ensuring nothing goes to waste.
How DIY Kits Reduce Waste and Support Sustainability
Mushroom cultivation upcycles agricultural byproducts like straw or sawdust that might otherwise be discarded. Homegrown kits eliminate plastic packaging from store-bought mushrooms and reduce transport emissions. Mycelium also breaks down toxins in substrates—experiment with using mushrooms to detoxify old fire pit ashes or stained cardboard. By closing the loop between waste and food production, DIY growers contribute to a circular economy while enjoying fresher, cheaper ingredients.