Automated Watering Systems Setup
Understanding the Benefits of Automated Watering Systems
Automated watering systems are transforming how gardeners and homeowners maintain their landscapes. These systems save time, reduce water waste, and ensure plants receive consistent hydration. For busy individuals or those managing large gardens, automation eliminates the hassle of manual watering. By scheduling irrigation based on plant needs, these systems prevent overwatering—a common cause of root rot and fungal growth. Additionally, smart sensors can adapt to weather changes, skipping cycles during rain or increasing output during droughts.
Choosing the Right System for Your Needs
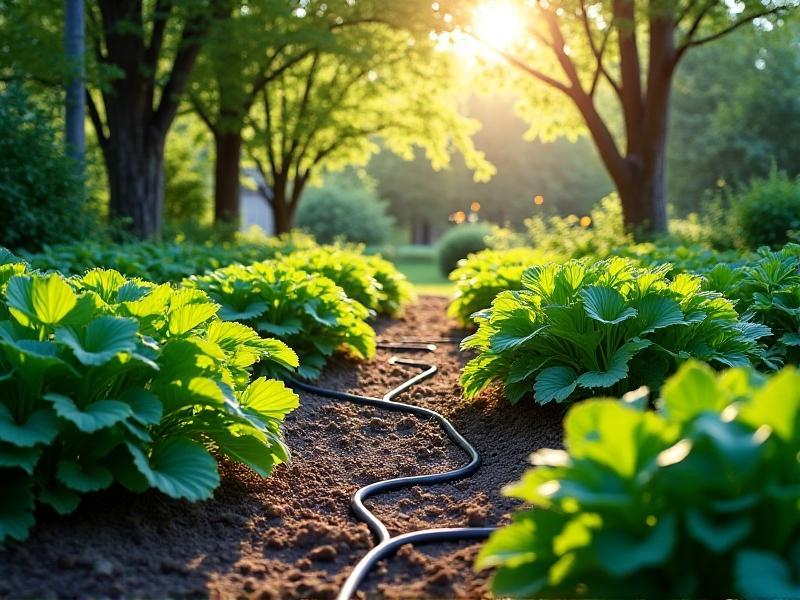
Selecting an automated system depends on factors like garden size, plant types, and budget. Drip irrigation excels in vegetable gardens, delivering water directly to roots. Sprinkler systems suit lawns, covering large areas evenly. Soaker hoses are ideal for flower beds. For tech enthusiasts, Wi-Fi-enabled controllers offer remote access via smartphone apps. Consider water pressure and local climate—drought-prone areas benefit from moisture sensors, while humid regions might prioritize timers with rain delays.
Essential Components of a Reliable Setup
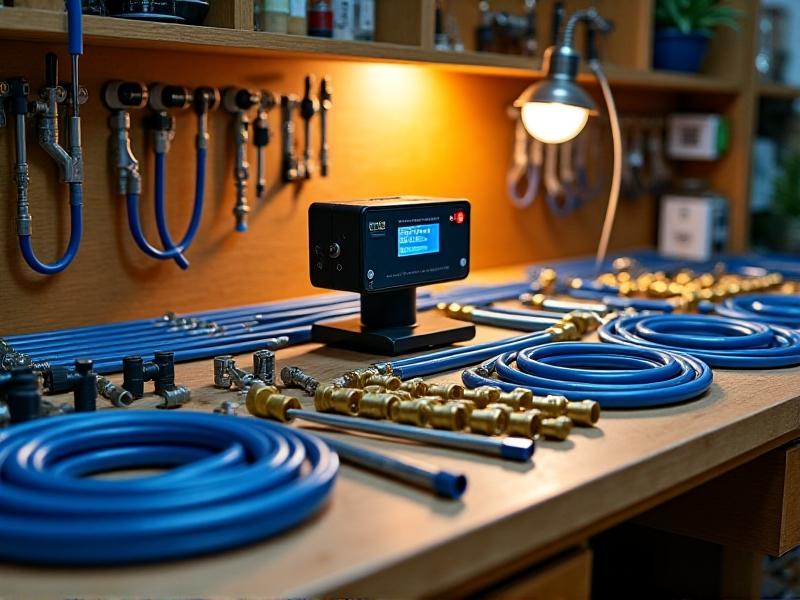
A basic automated system requires a controller, tubing, emitters, and a backflow preventer. Controllers act as the brain, programming watering schedules. Polyethylene tubing forms the main water delivery network, while emitters regulate flow. Filters prevent clogging, and pressure regulators maintain optimal performance. For advanced setups, add soil moisture sensors or weather stations. Always include shut-off valves to isolate sections for repairs. Quality connectors and waterproof seals ensure longevity.
Step-by-Step Installation Guide
Begin by mapping your garden, marking plant locations and water sources. Assemble the controller near an outdoor power outlet. Lay main tubing along beds, securing it with stakes. Install emitters or sprayers at root zones, spacing them according to plant needs. Connect the system to a hose bib or existing plumbing, adding a backflow preventer to protect water quality. Test for leaks by running a manual cycle. Program the controller with initial schedules, adjusting later based on plant response.
Integrating Smart Technology for Efficiency
Modern systems sync with smart home ecosystems. Wi-Fi controllers like Rachio or Orbit B-hyve use local weather data to adjust schedules. Pair them with soil sensors for real-time moisture tracking. Voice assistants enable hands-free control—"Alexa, water the front yard." Open-source platforms like OpenSprinkler offer customization. Solar-powered options reduce energy reliance. Ensure compatibility with existing devices and prioritize systems with robust security to prevent hacking.
Maintenance Tips for Long-Term Performance
Inspect filters monthly and flush debris from lines. Before winter, drain systems to prevent freeze damage. Replace cracked emitters and sun-faded tubing. Recalibrate sensors annually—bury moisture probes at root depth. Clear sprinkler heads of grass clippings. Update controller firmware to access new features. Keep a repair kit with spare parts and a tubing cutter. Monitor water bills for unexpected spikes indicating leaks.
Eco-Friendly Practices and Water Conservation
Automation shines when paired with sustainability. Use rain barrels as a free water source—connect them via pump kits. Mulch heavily to retain soil moisture. Group plants by water needs (hydrozoning) to avoid overwatering drought-tolerant species. Collect graywater from showers for non-edible plants. Solar-powered pumps and timers reduce carbon footprints. Many municipalities offer rebates for water-efficient upgrades—check local programs to offset costs.